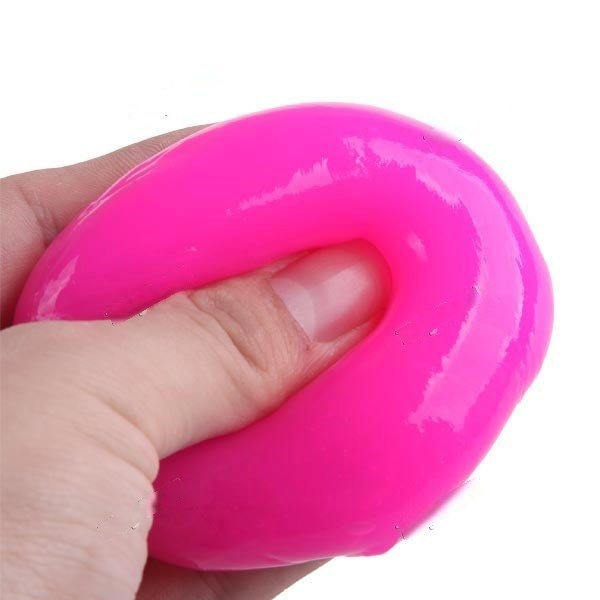
Slime is a sticky liquid that is moist, slippery and generally unpleasant to touch. Weirdly, kids love to play with slime despite it being repulsive to most people. During the Halloween season, kids get to be creative, work on their outfits and come up with different themes. There are many ways of making slime and this article will teach you How to make slime.
Method 1
What you will need;
- Elmer’s washable clear glue.
It is the most recommended type of glue since it rarely reacts with peoples’ hands. Some people are allergic to the normal glue.
- Liquid laundry detergent
Tide is the most preferred because of its great consistency.
- Shaving cream(optional)
- Mixing bowl depending on how much slime you want to make.
- Spatula for mixing.
Steps
- Pour the glue into the mixing bowl.
- Add the shaving cream.
The shaving cream is great for making fluffy slime. You can add more if your want fluffier slime.
- Add the liquid detergent in the ratio of 1:4
- Use the spatula to gently mix the components until you get the slime of you desired consistency.
This is the simplest way of making quality slime and it can be used to make the best slime for a school project. Note that all the ingredients can be altered to match your consistency and the amount of slime you want. Just make sure you follow the outline and procedure.
Method 2
What you will need;
- Elmer’s washable clear glue
- Water
- salt
- Mixing bowl
- Spatula for mixing
- Food color(optional)
- Glitters(optional)
- Microwave safe wrapping film.
- Microwave.
Procedure
- Pour the glue into the mixing bowl. If you do not have the Elmer’s glue, you can substitute with PVA glue.
- Add the food color to your preference. If you want a darker shade you will add more food color but otherwise a few drops are enough.
- Use the spatula to mix until you get an even color.
- Add the glitter.
- Use the spatula again to mix.
- Add one cup of water.
You can however adjust depending on the amount of slime you are making.
- Sprinkle plain salt evenly on the mixture.
If you don’t have normal plain salt you can substitute with iodized salt. The amount of salt used should be roughly half a normal size cup.
- Seal the bowl with the microwave safe plastic film.
- Place the bowl in the microwave and set the timer to four minutes and carefully remove from the microwave.
- Allow the mixture to cool.
- Gently mix with your fingers. Ensure the mixture is completely cooled before you immerse your fingers.
- Sieve to remove the water and discard the water.
- Continue to slowly mould it using your fingers until the slim starts to form and take shape.
- If the slime does not form, add more salt and return the mixture to the microwave.
- Continue to mould slowly until you get the desired consistency you wanted.
This procedure when followed precisely leads to slime that is not so disgusting. The color and glitters make it more appealing to the kids.
Method 3
Components
- Elmer’s glue
- Mixing bowl
- Spatula
- Borax
- Warm water in a cup
- Clean Teaspoon
Procedure
- Pour the glue into the mixing bowl
- Add water of equal ratio to the glue.
- Mix using a spatula.
- Dissolve the borax into the warm water.
- Use the clean teaspoon to slowly add the dissolved borax into the mixing bowl with glue.
- Continue stirring the glue as you add the borax.
- Remember to slowly add the borax, not the entire amount at once.
- The slime will start to take shape and turn into a big lump.
- Transfer the lamp from the bowl onto a counter top.
- Slowly knead the lump while continuously wetting your hands using the borax water.
- Stretch out the lump and with time, it will get sticky and you will have your slime.
Making slime is actually fun, you just have to switch off your mind and not think of the slimy part.


